How to Install Hermes Agent
A practical install guide for Hermes Agent: the official one-line installer, first-run checks, `hermes setup`, and the few commands worth verifying before you do anything else.
How to Install Hermes Agent
If you want Hermes Agent running quickly, there is no reason to overcomplicate the install.
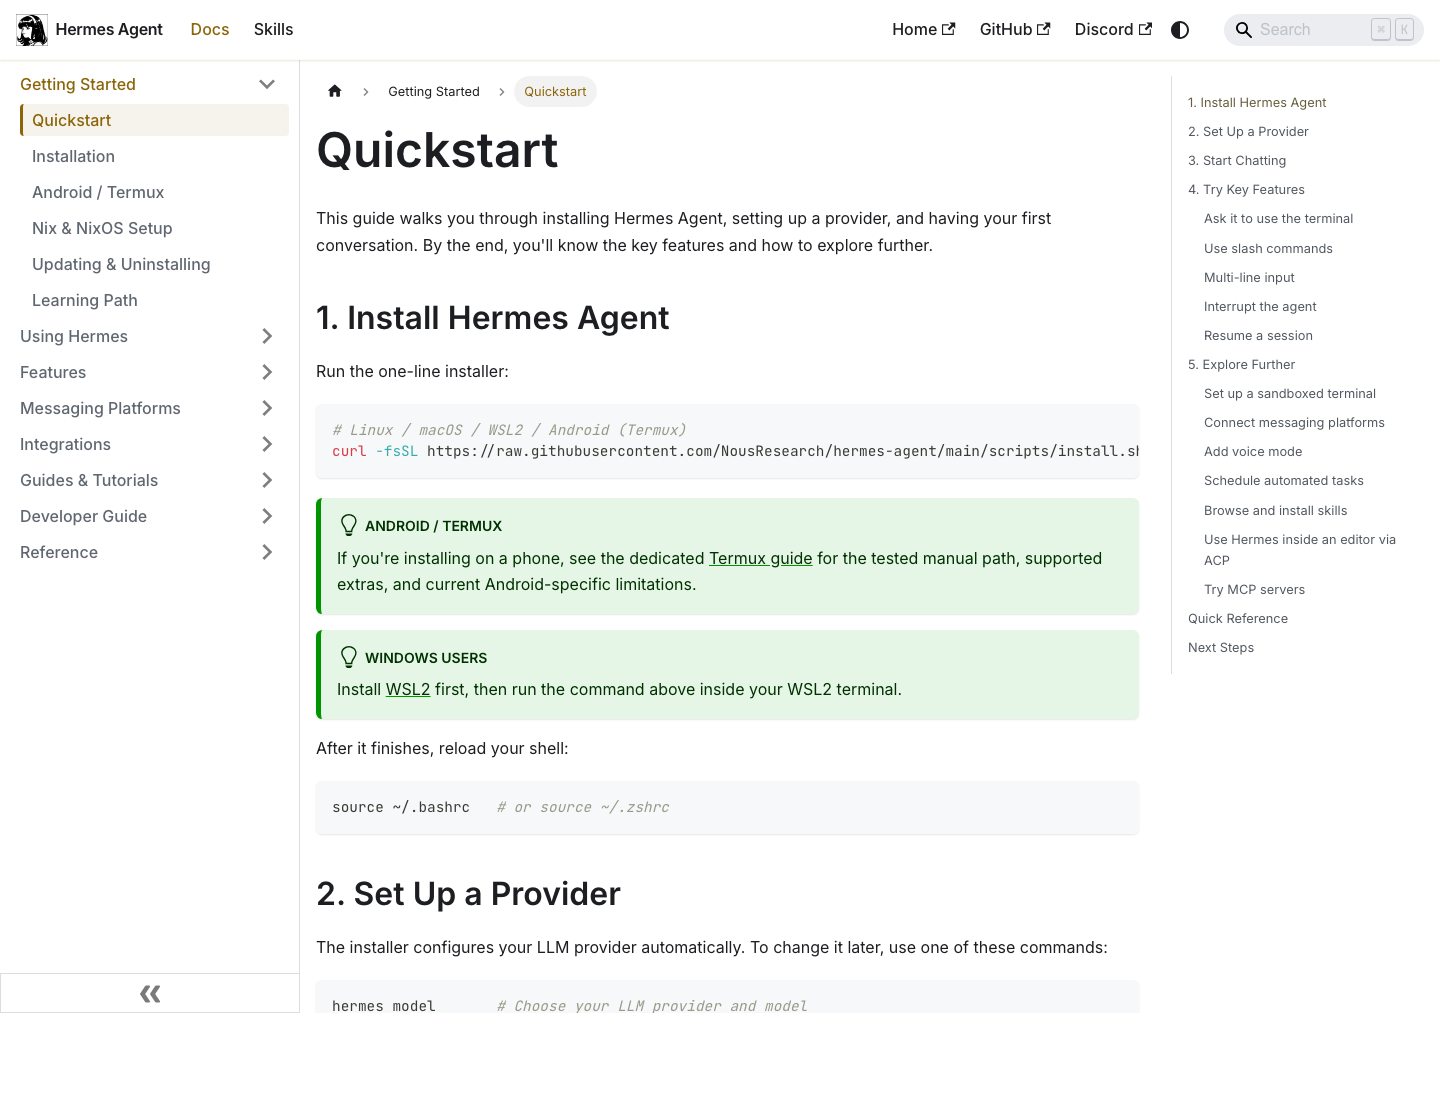
The official quickstart path is straightforward:
- run the one-line installer
- reload your shell
- verify
hermes - run
hermes setup - run
hermes doctor
That is the whole core flow. This article sticks to that path and cuts out the usual filler.
Source: Hermes Agent quickstart
Supported Environment
Current official docs support:
- Linux
- macOS
- WSL2 on Windows
- Android via Termux in the quickstart path
The simpler rule is:
- macOS and Linux are the easiest
- Windows users should go through WSL2
If you are trying to treat native Windows as the default path, you are already off the official track.
The Install Command
The official one-line install command is:
curl -fsSL https://raw.githubusercontent.com/NousResearch/hermes-agent/main/scripts/install.sh | bash
That is still the canonical baseline in the current docs.
What the Installer Actually Solves
The installer matters because it removes the annoying parts:
- fetching the Hermes package
- handling runtime dependencies
- wiring the CLI into your shell
For most users, there is no upside in manually recreating what the script already does unless you are debugging a broken environment.
Step 1: Run the Installer
curl -fsSL https://raw.githubusercontent.com/NousResearch/hermes-agent/main/scripts/install.sh | bash
Wait for it to finish. If you are on Linux or macOS, that is usually the entire installation step.
Step 2: Reload Your Shell
The official docs explicitly tell you to reload your shell after install.
Examples:
source ~/.bashrc
or:
source ~/.zshrc
If you skip this, hermes may be installed correctly but still appear missing in the current terminal session.
Step 3: Verify the CLI
Run:
hermes --version
If that prints a version number, the install worked.
If hermes is still not found:
- reopen your terminal
- reload the right shell config file
- confirm the installer actually completed
Do not jump into provider setup before the CLI itself is callable.
Step 4: Run the Setup Wizard
Once the CLI works, run:
hermes setup
This is the step that actually makes Hermes usable. The current docs describe hermes setup as the main path for:
- choosing a model provider
- entering API credentials when needed
- optionally configuring messaging
- initializing the first working configuration
If you stop after installation and never run setup, Hermes is installed but not really ready.
Step 5: Run Diagnostics
After setup, run:
hermes doctor
This is the best sanity check before you go further into models, gateway setup, skills, or messaging.
It is especially worth doing if:
- the install felt inconsistent
- your shell cannot find part of the runtime
- provider setup partially worked
- you are on WSL2 or a less standard environment
The Minimum First-Run Command Set
You do not need to memorize a huge Hermes CLI on day one. These are enough:
hermes --version
hermes setup
hermes doctor
hermes model
hermes gateway
hermes update
What they are for:
hermes --version: verify installhermes setup: initialize first working confighermes doctor: validate runtime healthhermes model: change or inspect your model choice laterhermes gateway: configure messaging only when neededhermes update: update the install
Do Not Mix Base Install with Gateway Complexity Too Early
One common mistake is trying to configure Telegram, Discord, Slack, or other channels before the base install is healthy.
The cleaner order is:
- install Hermes
- verify
hermes - run
hermes setup - run
hermes doctor - only then add gateway or messaging
That order makes debugging much easier.
What to Do Right After Install
If the install completed and doctor passes, your next move depends on your goal:
- if you want a normal cloud-backed setup, keep going with provider setup
- if you want a local model, move to the Ollama article next
- if you want Hermes in messaging apps, configure the gateway after the base setup is stable
That is enough for a real first session.
The 5 Most Common Install Mistakes
1. Not reloading the shell
This is the classic one. The install finishes, but the current shell still cannot see hermes.
2. Treating install as the same thing as setup
Install gets the CLI on your machine. hermes setup makes it usable.
3. Trying to configure messaging too early
Get the base CLI working first.
4. Skipping hermes doctor
This removes the easiest troubleshooting checkpoint.
5. Using an unsupported Windows path
If you are on Windows, follow the WSL2 route.
Quick Checklist
- Run the official installer
- Reload your shell
- Verify with
hermes --version - Run
hermes setup - Run
hermes doctor - Add gateway or messaging only after the base install works