What is HTML video, and how can AI be used to create HTML video?
Using svganinmate.ai, you can create educational HTML videos in just 5 minutes.
AI video production has already developed to a very mature stage. So is there any way to let AI produce animated videos for knowledge explanation and science popularization teaching?
The answer is: absolutely no problem.
AI is extremely good at writing code. We can directly use AI to turn explanatory videos into HTML videos. Simply put, this means letting AI generate each scene in the form of web pages, and then assembling these scenes into a complete video. This approach is especially suitable for knowledge popularization, product introductions, course explanations, and other types of content that mainly rely on text, charts, and information presentation.
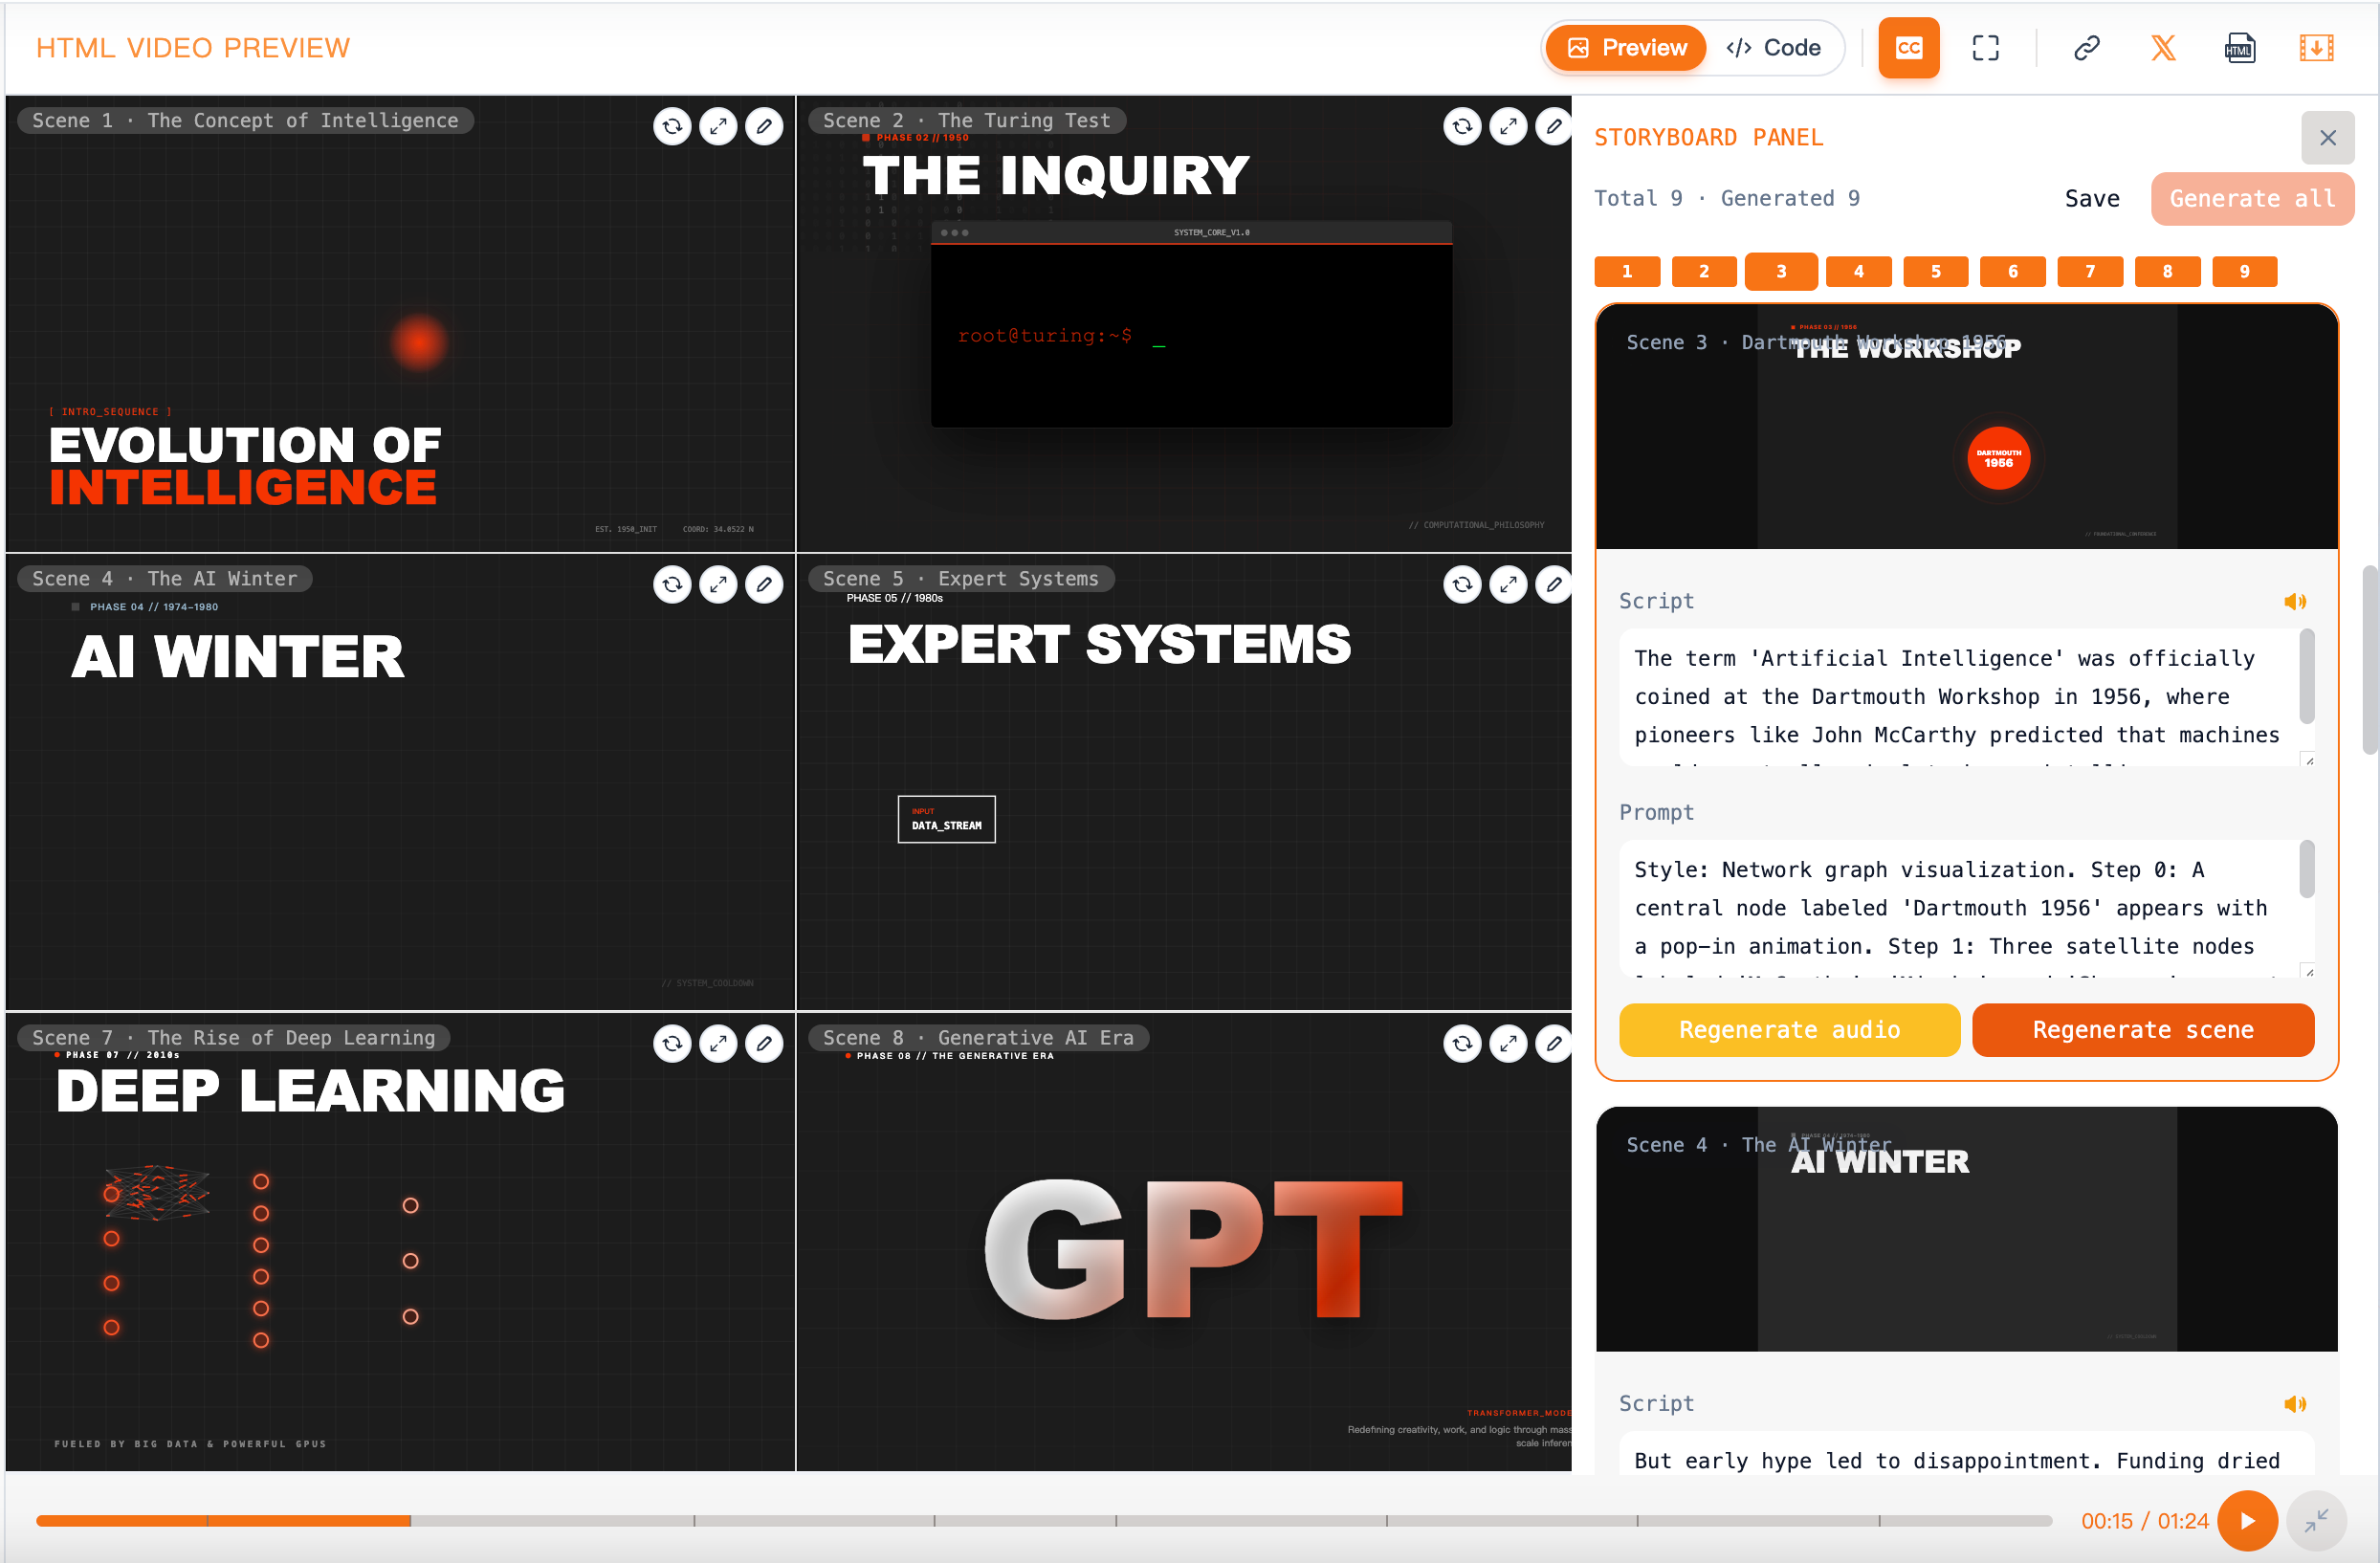
For example, the video below is entirely an HTML video created using AI:
https://svganimate.ai/zh/animation/4e23e305-be79-44b4-a112-e3bc47ea46f7
All the text, visuals, animations, and audio in it are fully automatically generated by AI.
1. Understanding HTML Video in One Sentence
An HTML video can be roughly understood as:
A video that is not filmed with a camera, but “written” using web pages.
It is especially suitable for the following types of content:
- Knowledge explanation
- Product demonstration
- Teaching videos
- Data storytelling
- Process breakdown
Because for this type of video, what matters most is not camera movement, but:
- Whether the text is clear
- Whether the information hierarchy is clear
- Whether charts and animations are accurate
- Whether subsequent modifications are convenient
And these are exactly the advantages of HTML video.
2. Why It Is More Recommended to Directly Start with SVGAnimate AI
If you have already seen some “code-generated video” solutions, you may have noticed two problems:
- Some solutions are too low-level, requiring you to set up the environment, write code, and debug everything yourself
- Some solutions can generate with one click, but the process is too much of a black box, making it difficult to modify
Today I will introduce a new AI animation video creation tool: svganimate.ai
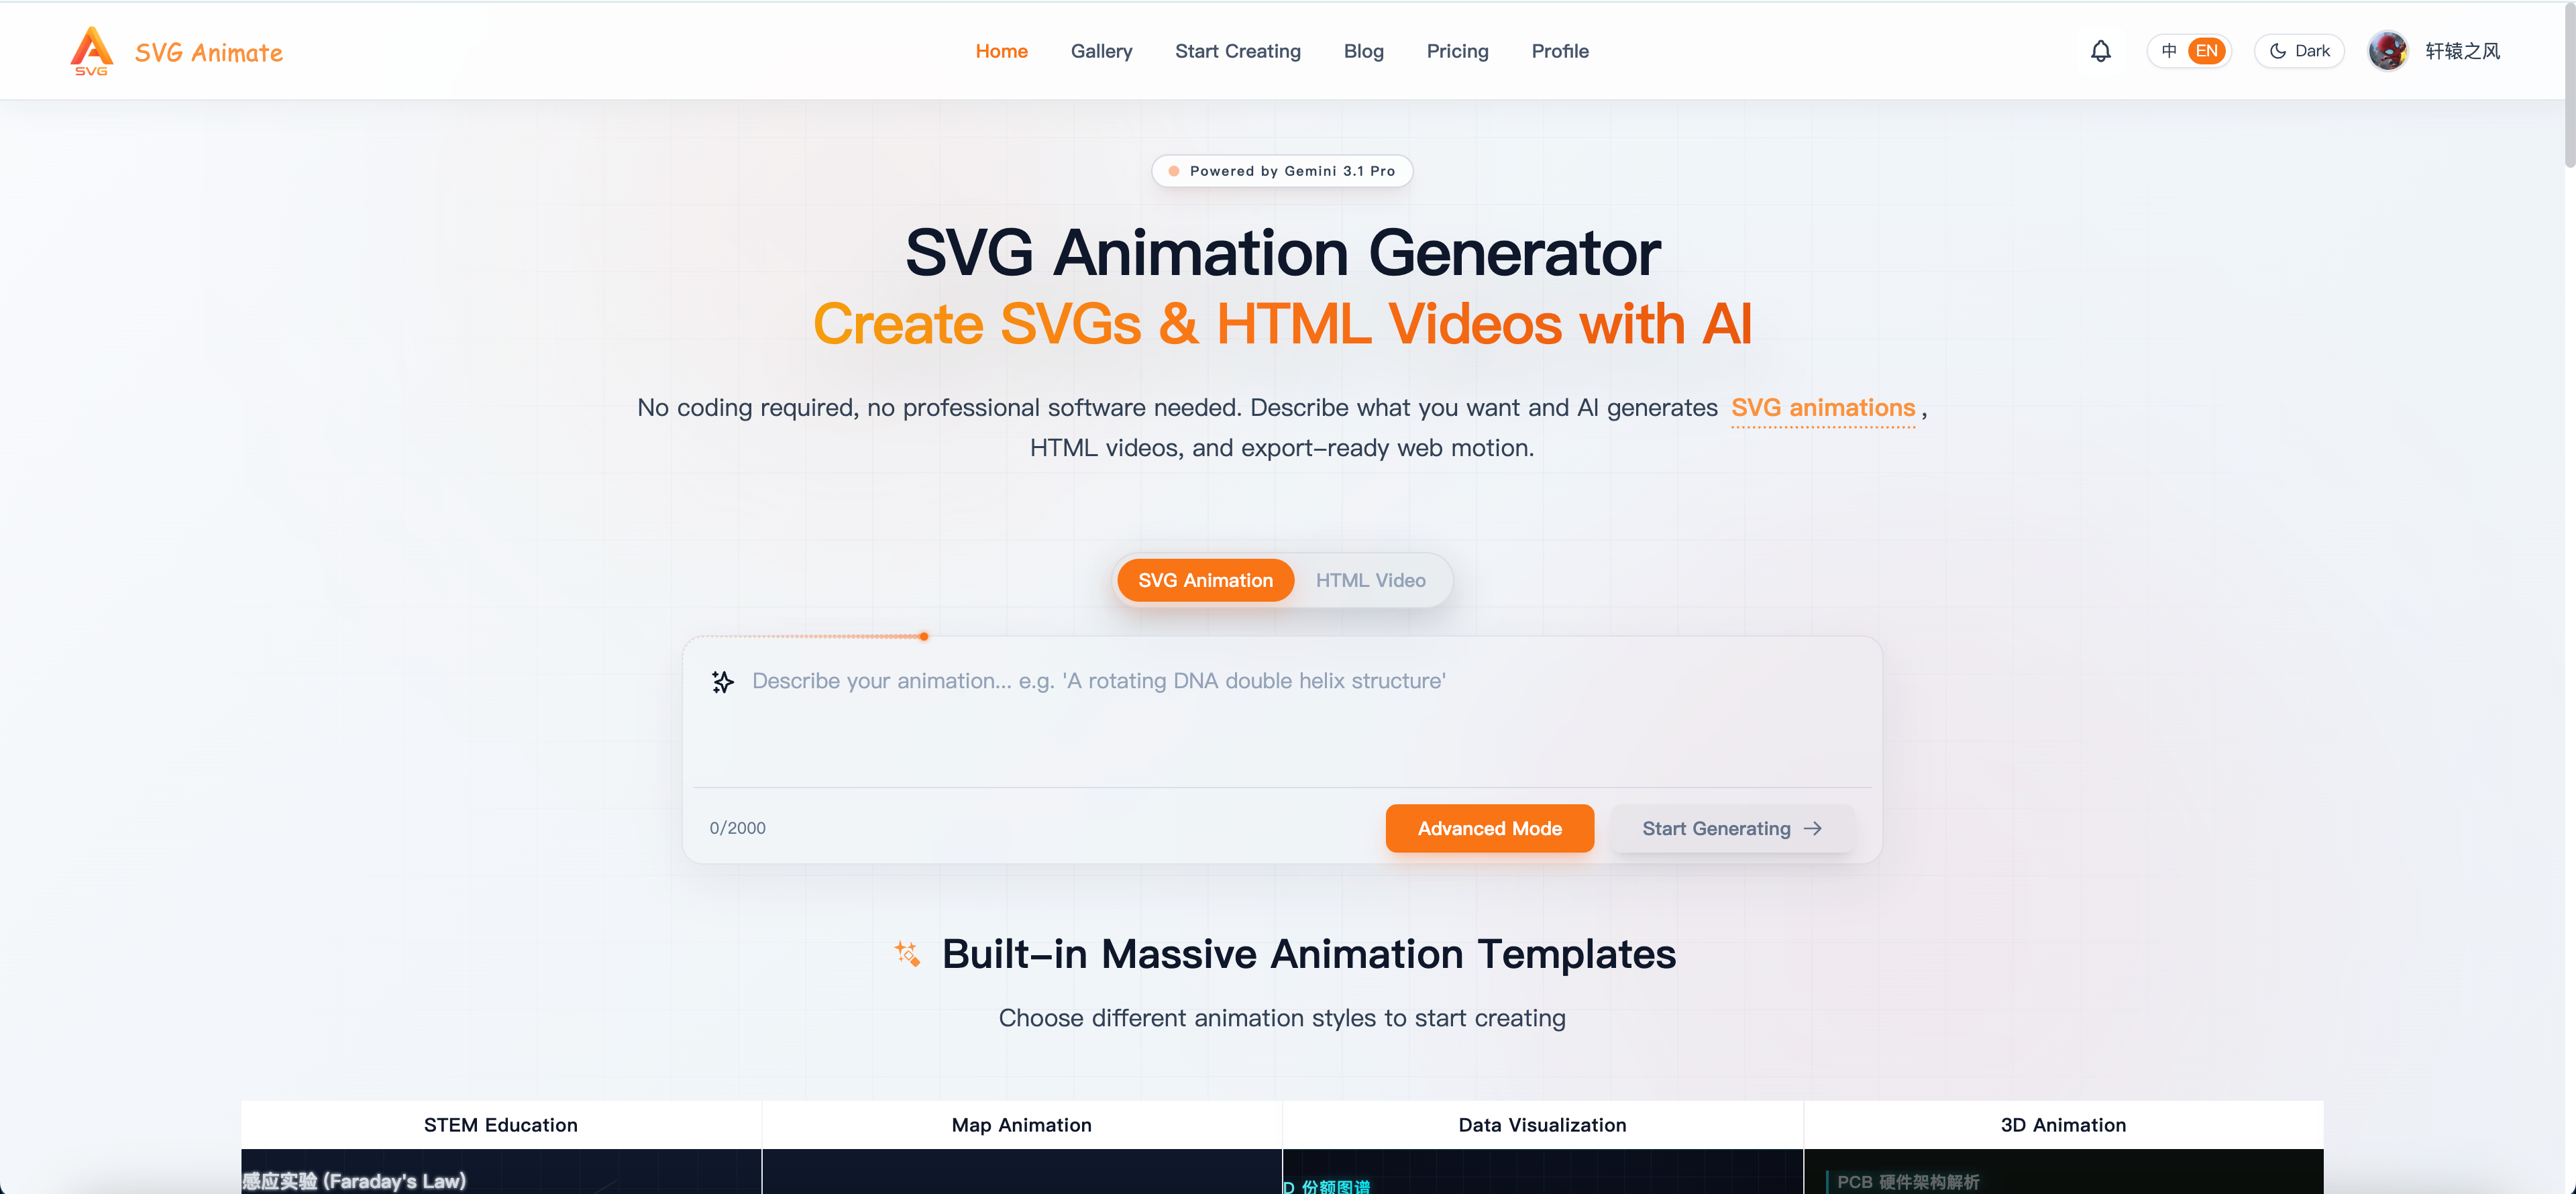
With this tool, you can easily create professional SVG animations and HTML videos.
SVGAnimate provides the following capabilities:
- You can directly input a topic
- It will first generate the script and storyboard
- Then generate the HTML visuals for each scene
- Then add narration, subtitles, and export
- Every layer in between can still be edited
The entire process is fully automated. We only need to confirm key steps. Next, I will explain how to use this tool to create an HTML video.
3. How to Create an HTML Video with SVGAnimate AI
Step 1: First Determine What You Want to Explain
Do not start with a very large topic. For your first attempt, the most suitable topics are:
- Clearly explain one concept
- Clearly explain one product feature
- Fully demonstrate one process
For example:
- What is a vector database
- What are the key changes in DeepSeek-V4
- What problem does my product solve
- How a workflow runs specifically
For the first time, it is best to control it within 30 seconds to 2 minutes, which makes it easier to generate and easier to judge where modifications are needed.
Step 2: Write a Clear Generation Requirement in One Sentence
In SVGAnimate AI, you do not need to prepare a very long prompt, but this sentence should preferably include four elements:
- What the topic is
- Who it is for
- What style you want to make
- What the intended use of the video is
For example:
Help me create a 60-second Chinese explanatory video on “What is a vector database,” aimed at beginner product managers, with a clear modern style, suitable for publishing on Bilibili or WeChat Channels.
If you are making a product introduction, you can also directly write:
Help me create a 90-second Chinese product introduction video about “How SVGAnimate AI helps creators quickly generate knowledge explanation videos,” aimed at teachers, students, and content creators who want to make short videos, with a professional, clear style and a slight sense of technology.
If you clearly state this in one sentence, the generated results will usually be much more stable.
Step 3: Choose a Visual Style
After confirming the script, the next step is not to export immediately, but to choose a visual style.
SVGAnimate AI already has some built-in style presets, and you can directly choose the one that is closer to your content direction.
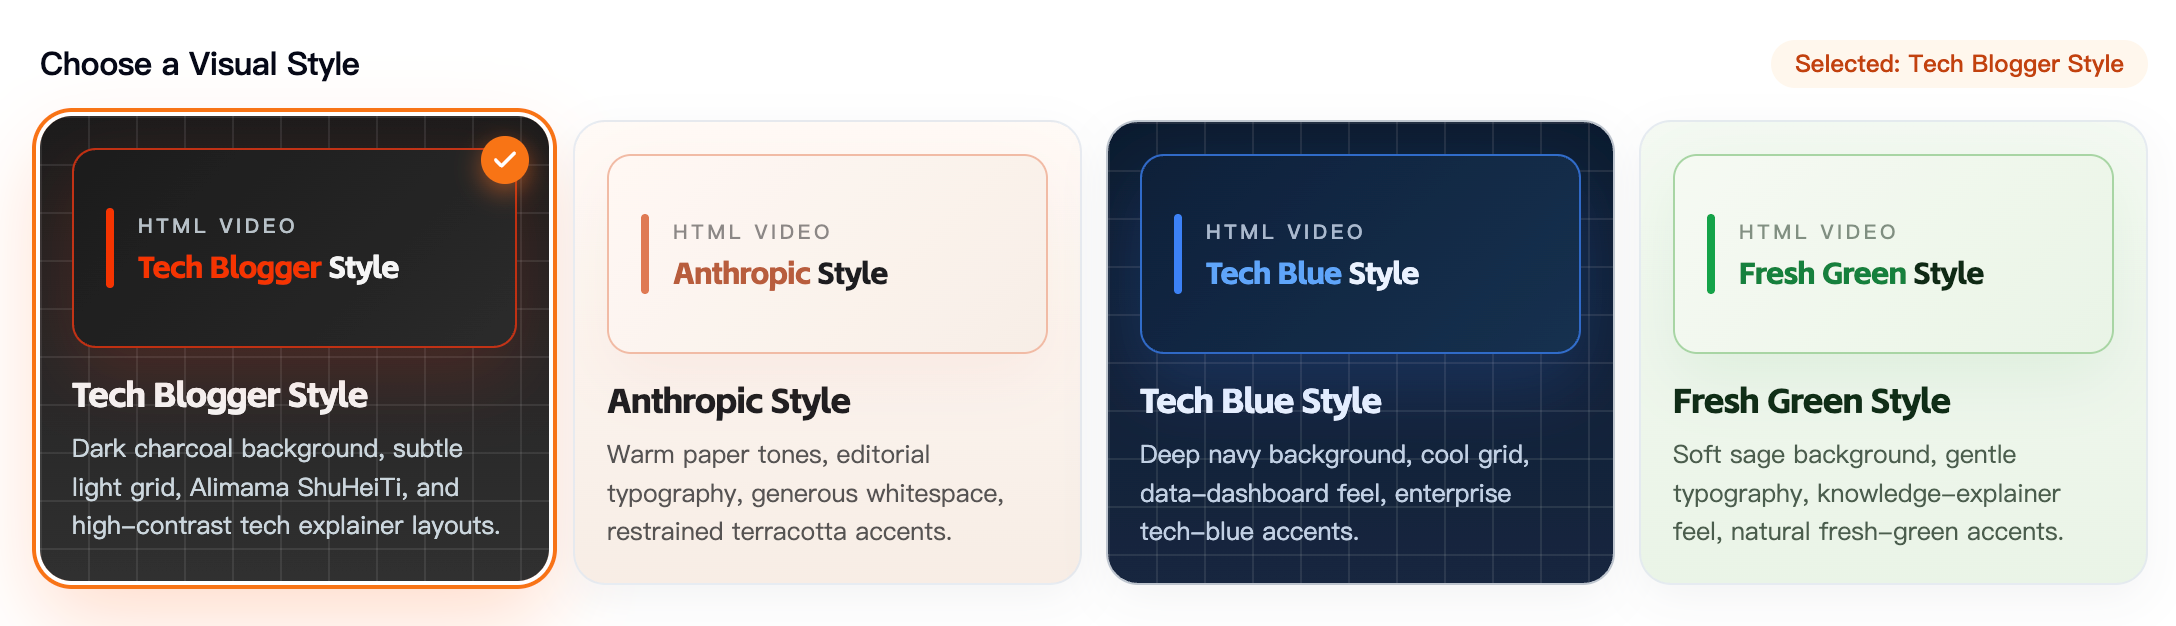
The selection advice here is very simple:
- For knowledge explanation, prioritize clear, restrained, and information-oriented styles
- For product introductions, you can choose more modern and UI-oriented styles
- For broader audience content, you can choose styles with stronger rhythm and expression
Do not pursue flashy effects at the beginning; pursue consistency first. Because for an explanatory video, the biggest problem is not “not flashy,” but inconsistency in style.
Step 4: Choose Narration Voice
For many knowledge videos, what really affects the level of completion is not just the visuals, but whether the voice sounds natural.
One advantage of productized tools like SVGAnimate AI is that voice selection is also included in the workflow. You can preview first and then decide which voice to use for the entire video.
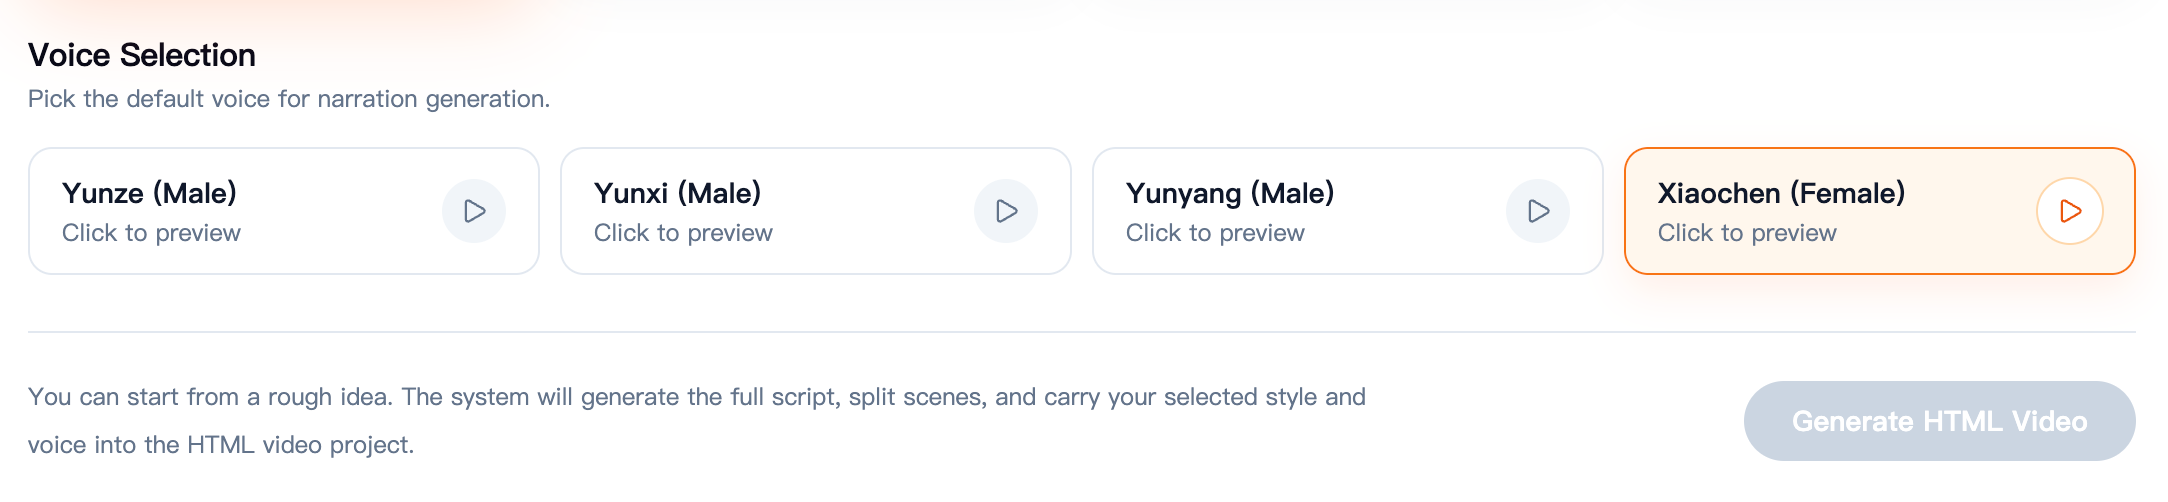
Practical suggestions:
- When explaining knowledge points, prioritize stable and clear voices
- When introducing products, you can choose voices with a stronger presentation tone and clearer rhythm
- If you plan to record your own voice later, turn off the built-in voice and only keep the visuals and subtitles
Do not underestimate voice selection. Many times, the same script can feel very different with a different voice.
Step 5: Check the Visuals of Each Scene
Next, SVGAnimate AI will convert the storyboard into individual HTML scenes.
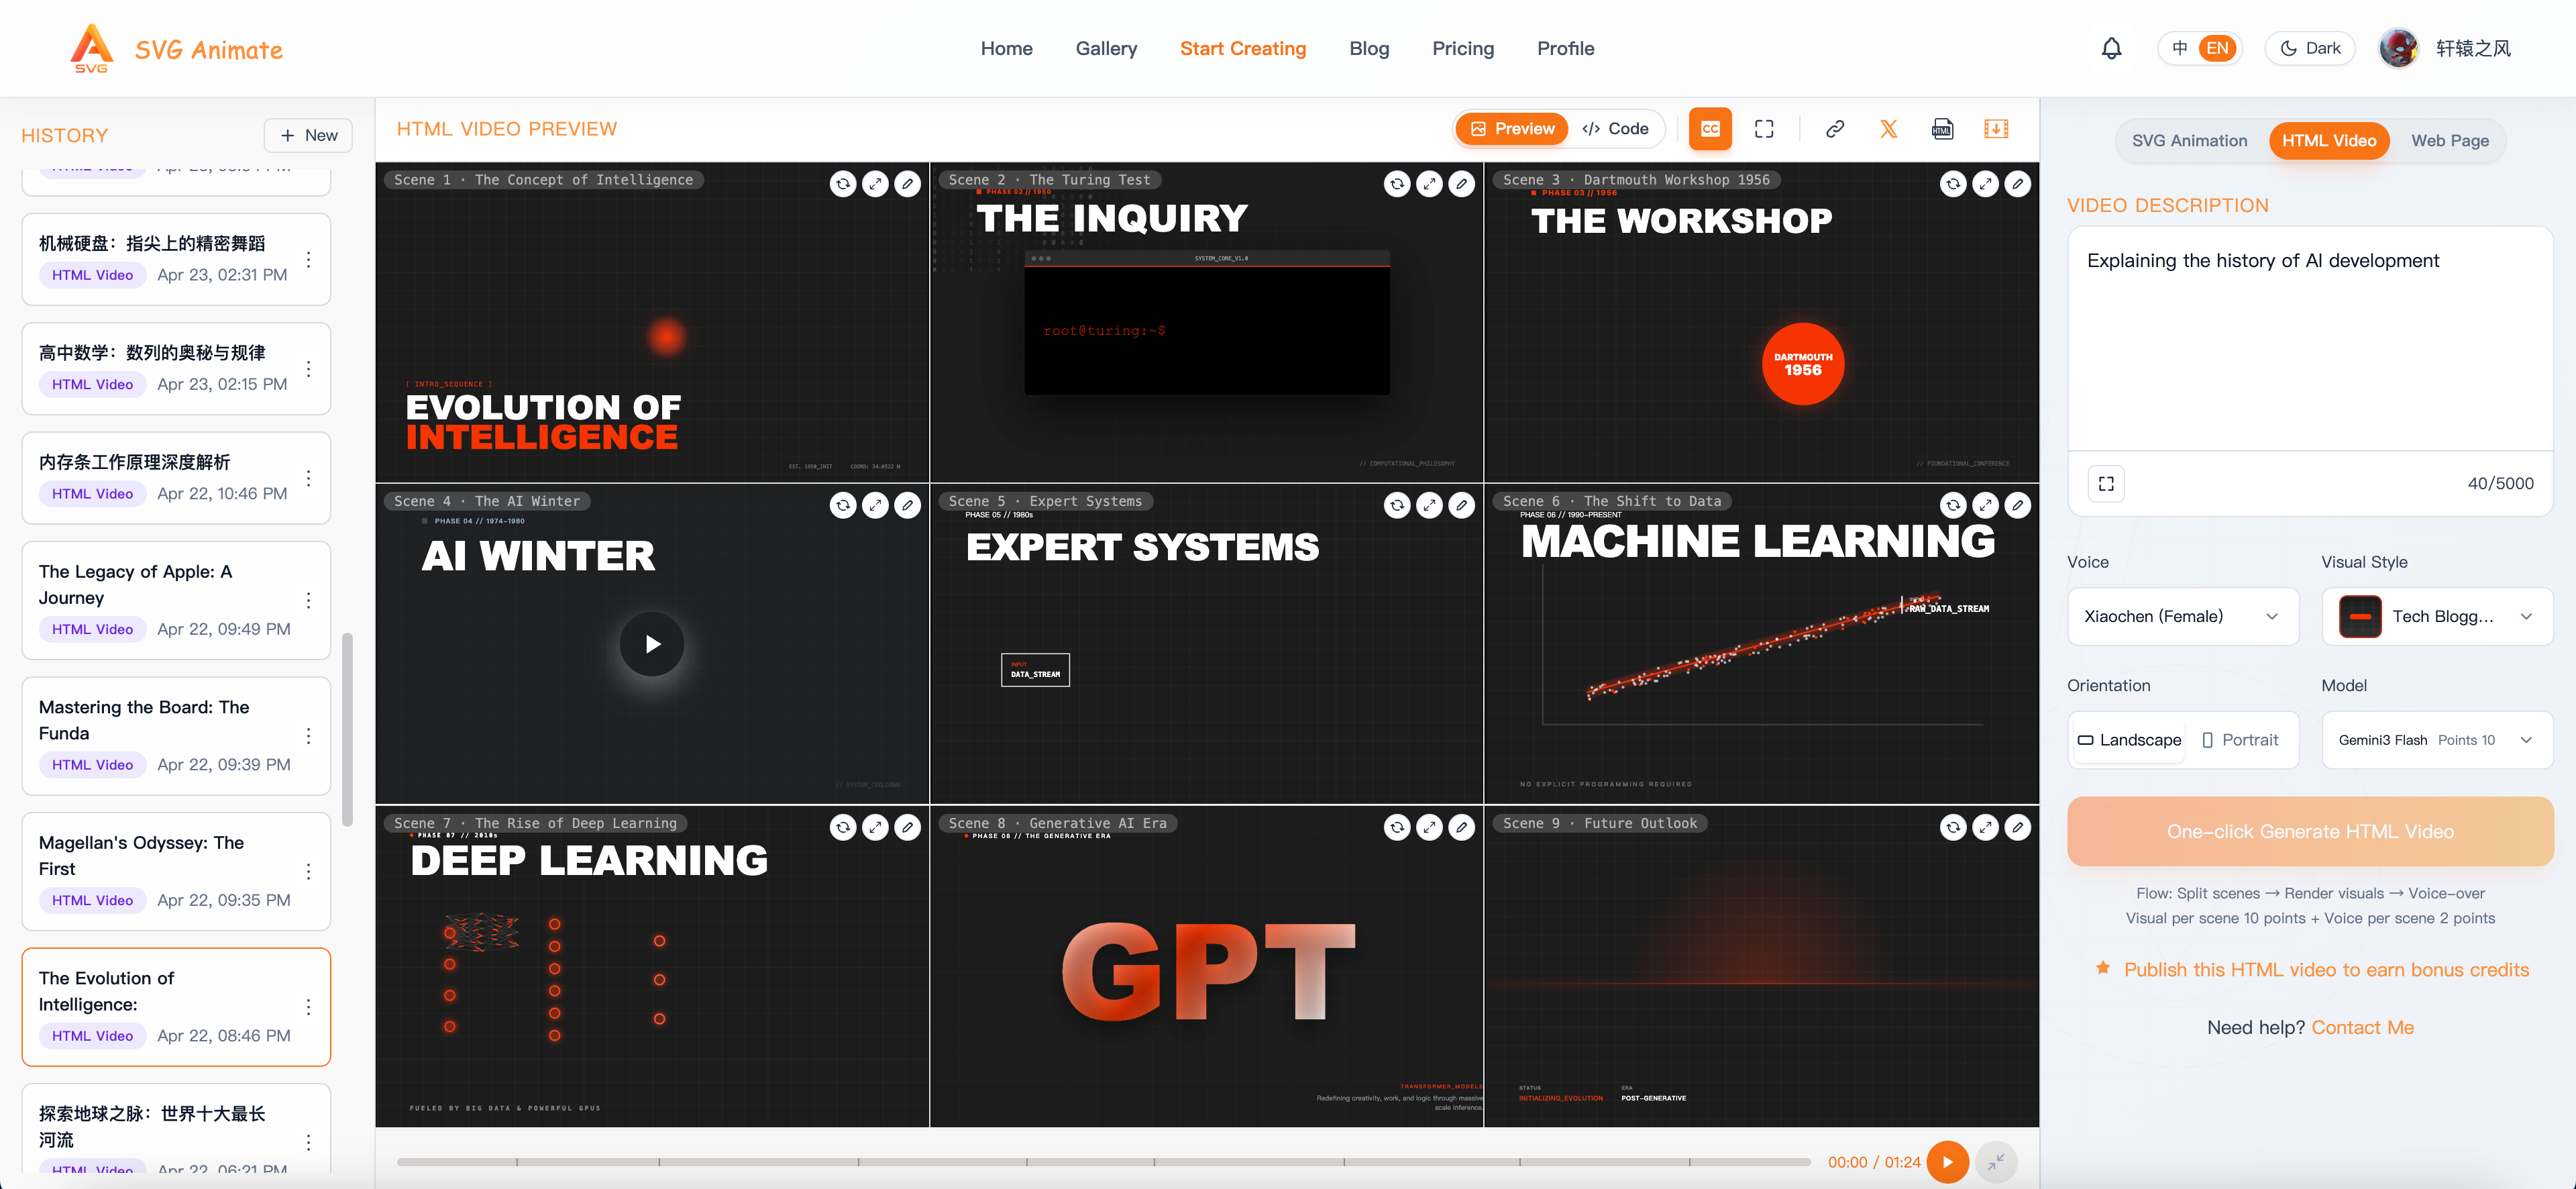
At this step, you should focus on:
- Whether the title is correctly emphasized
- Whether there is too much text
- Whether the graphics and layout serve the content
- Whether the style is consistent throughout the video
If you find that one or two scenes are not ideal, do not rush to redo the entire video. First identify exactly which part has the problem.
Step 6: Modify Single Points Instead of Rebuilding the Entire Video
This is actually one of the most valuable aspects of SVGAnimate AI.
In actual use, you can judge problems like this:
- If the logic is not smooth, modify the script
- If a scene does not match the topic, modify that part of the storyboard
- If a scene is messy, regenerate only that scene
- If the narration rhythm is unnatural, adjust only the voice
This is much more efficient than “regenerating the entire video and relying on luck again,” and it is more suitable for people who truly need to refine content repeatedly.
Step 7: Export the Final Video, Then Decide Whether to Do Secondary Editing
After confirming the script, visuals, and narration, you can export the final video.
Usually, at this step, the video can already be published directly. But if you still want further processing, you can do this:
- Use SVGAnimate AI to generate the main content
- Import the exported video into editing tools
- Add intro, cover, human narration, or platform-specific subtitles
This workflow is very suitable for today’s content creators: let AI complete the most time-consuming explanatory part first, and then you handle the final packaging.
4. Common Pitfalls When Using SVGAnimate AI for the First Time
If you want to avoid detours, it is best to remember the following points:
1. Do not choose a topic that is too large
2. Do not focus only on visuals at the beginning
3. Prioritize stability over flashy style
4. Learn to modify locally
5. If You Want to Use It for Product Videos
When writing requirements, you should prioritize emphasizing:
- What problem the product solves
- Who it is for
- What the core selling points are
- Whether the video should be more explanatory or more demonstration-oriented
For example:
Help me create a 90-second Chinese product introduction video introducing a tool that can quickly generate knowledge explanation videos using AI. It is aimed at teachers, students, knowledge bloggers, and indie developers. The overall style should be professional, modern, and clear, with emphasis on “input one sentence to generate script, storyboard, visuals, and narration.”
Conclusion
For most people, the most valuable aspect of HTML video is not the concept itself, but the fact that it can make explanatory videos faster and easier to modify.
And if you do not want to build the underlying toolchain yourself, and want to start directly from “making your first video,” then products like SVGAnimate AI, which integrate script, storyboard, scenes, narration, and local editing, will be a more practical entry point.
Start with a small topic to go through the full process once, and then begin creating longer and more complex videos—this is usually the most stable way to get started.